Usage
Launch
Insert the USB Licenses Dongle
Open Screenberry2Launcher
Open ScreenberryPanelLauncher
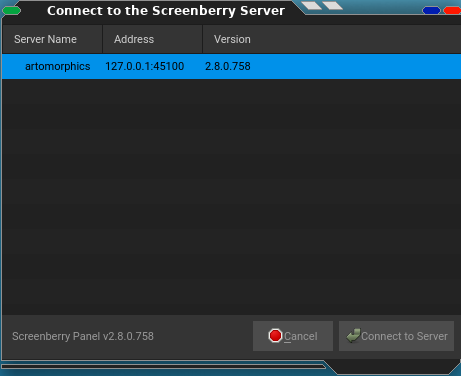
Select the server and click Connect to Server
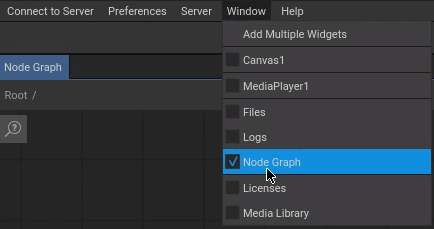
Insert Nodes
Open the Node Graph window:
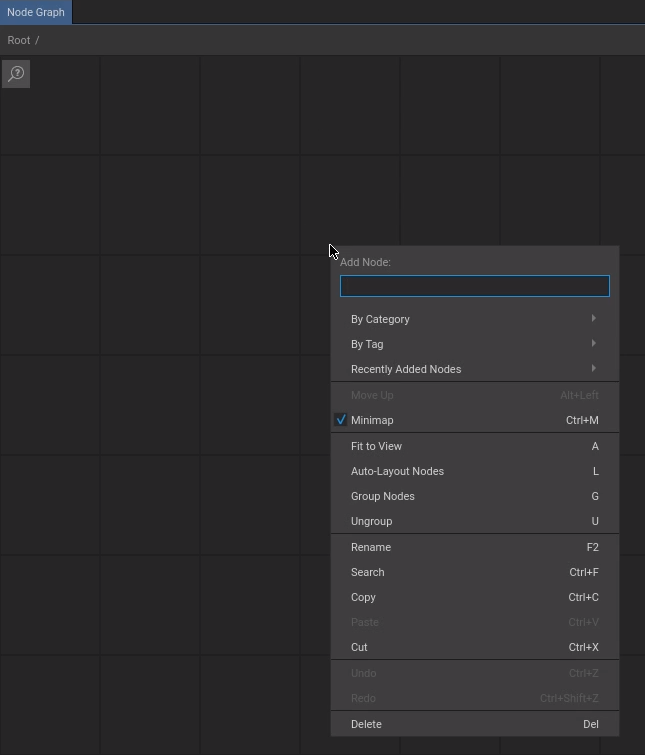
Right click somewhere in the Node Graph window or use the keyboard shortcut (‘N’) to add nodes:
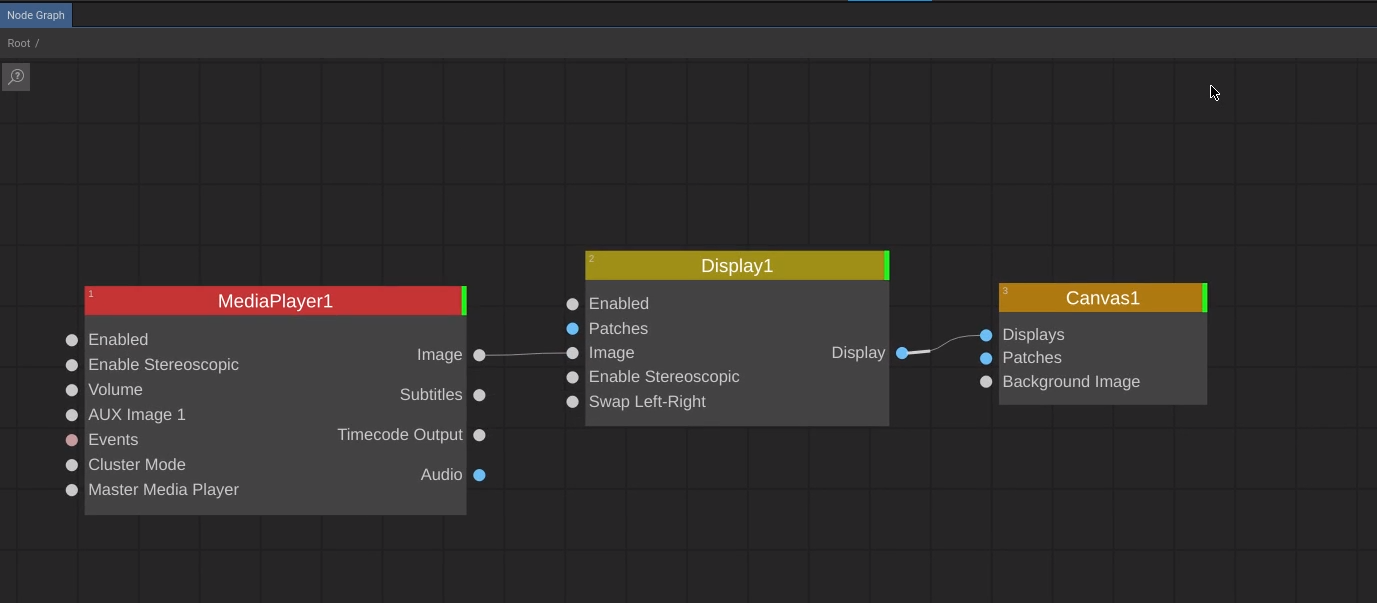
Insert a Media Player, a Display and a Canvas to get a basic playout:
Setup Output Monitor
Define your second monitor as main output screen:
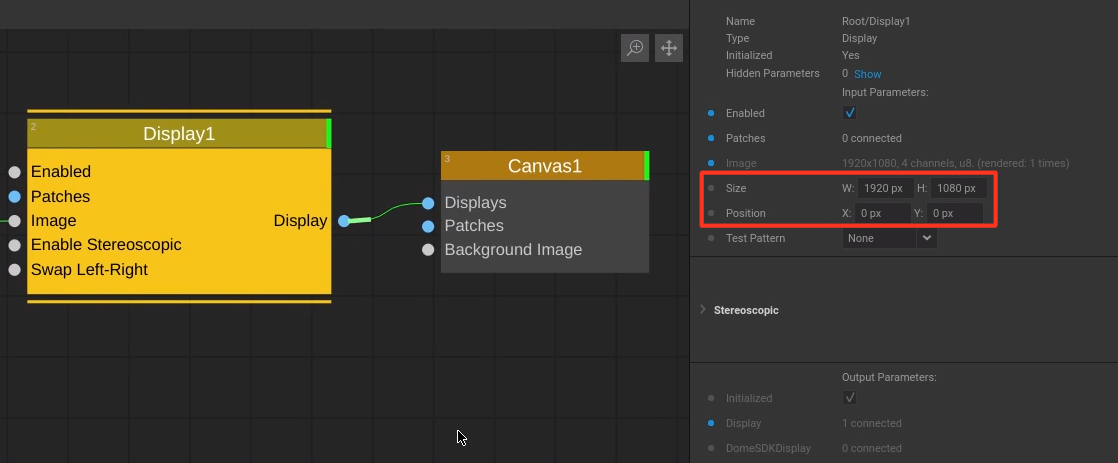
Select the Display node and define its size on the settings panel:
Select the Canvas node and define its size and position on the settings panel:
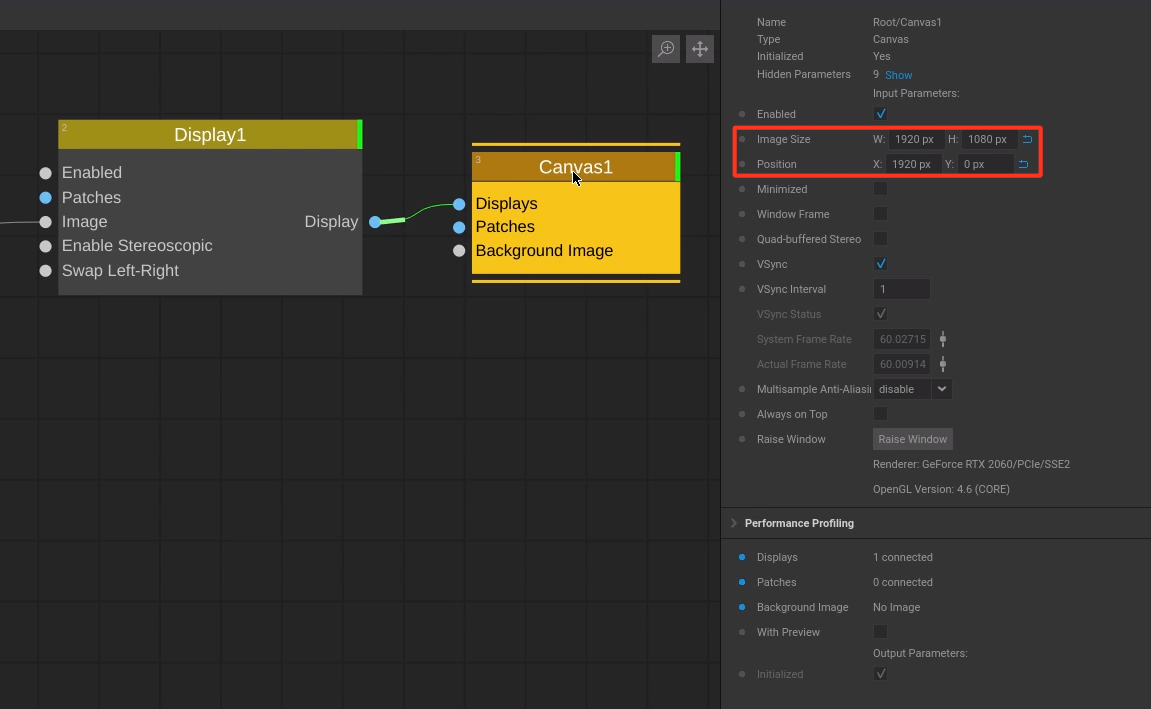
Note
Since our main screen in this example has a resolution of 1920 x 1080 pixel, we shift the Canvas by 1920 pixels to appear on the second screen.
Insert Media
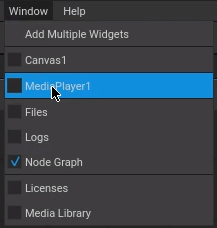
Open the MediaPlayer:
Drag and drop your media into it and select Add:

Your imported media appears in the MediaPlayer.
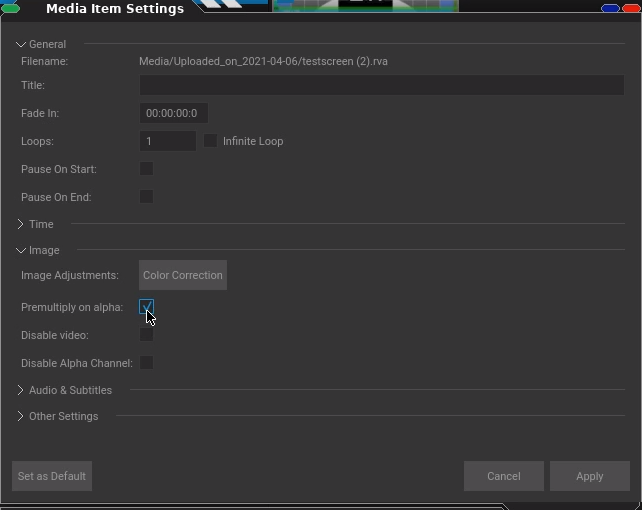
Item Settings
When using .png files with alpha channels and it appears jagged, right click the media and select *Item Settings:
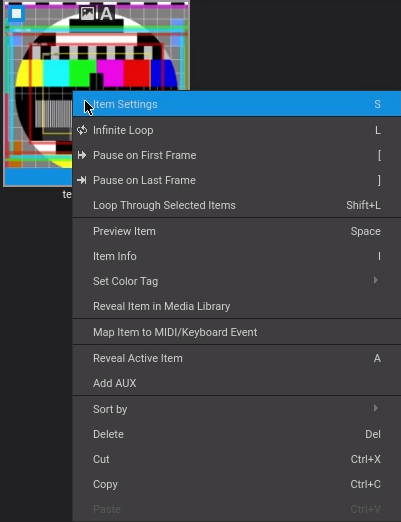
in there make sure to check: Premultiply on alpha: